Whether you’re a seasoned chicken keeper or a curious beginner, the process of incubating and hatching eggs is a captivating and beautiful experience. From the anticipation of waiting for the first crack to the joy of seeing fluffy chicks emerge, incubation is a 21-day journey filled with excitement. This article will explore why you should consider incubating your own eggs, and the details on how to plan and execute a proper hatch.
Benefits of Incubating Eggs at Home
Incubation is easy
Modern incubators have made hatching your own eggs a simple and easily manageable task. Once you set everything up correctly and place the eggs into the incubator, there’s very few additional steps required on your part until a few days before hatching – more details on this in the hatching timeline below. Features of incubators such as temperature and humidity monitoring, countdown timers, egg turners, and built-in candling lights give you all the tools needed for a successful hatch in one package. These machines have become economical enough for any backyard chicken keeper to have in their toolbox, which over a few years of hatching will easily pay for itself.
Save money
After investing in the incubator, hatching chicks using eggs from your own flock doesn’t cost you anything. It’s a fully self-sustaining process, where your newly hatched chicks will eventually grow to become hens and roosters that produce more fertilized eggs for hatching. The more rare chicken breeds can become expensive for fertilized eggs, and even more for chicks. If you multiply this by annual additions to the flock over many years, the cost adds up substantially. Incubating your own eggs at home will definitely save you money in the long run.
Greater Control
One of the best parts of incubating your own eggs is the ability to control the timing, quality & genetic diversity of your hatch. If you or a friend has an existing flock that produces fertilized eggs (more on this below), you are not at the mercy of available stock at local farms or hatcheries. In the same manner, you know the exact history of the chickens producing the eggs you are about to hatch – what they eat, how they are treated, and how much space they have. For those interested in genetics and crossbreeding, you can track how eggs from different breed hens and roosters look after the chick hatches and grows to maturity.
It’s rewarding, and kids love it
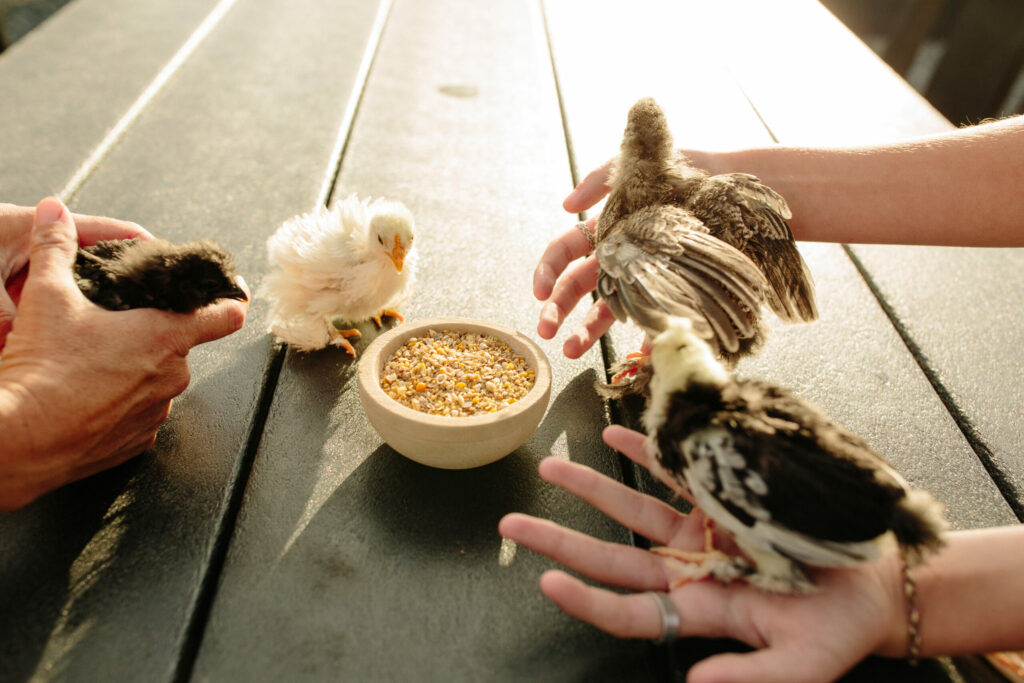
Aside from the logical and practical reasons above, incubating and hatching eggs at home is a fun and rewarding process. This experience of creating new life is especially wonderful for children, who can learn about the egg development process in parallel. Seeing the final product of super cute, fluffy little chicks is the icing on the cake!
Features of an Incubator
 Incubators are designed to hold a specific temperature and humidity level that is required for hatching chicks. They also include a vent to allow adequate oxygen into the incubator.
The size of incubators vary and can hold from 12-500+ eggs. Most modern incubators include an automatic egg turner. Rotating eggs during the incubation process is essential for the survival of the embryo.
Sourcing Fertilized Eggs
If you’ve never hatched chicks before, it may not be completely obvious where or how to obtain fertilized eggs (aside from the fact they come from a hen). The key word is fertilized – if you take eggs from a coop full of only hens, they will never hatch. There needs to be a rooster in the mix for hens to consistently lay fertilized eggs. These are a few methods you can use to acquire fertilized eggs for incubating:
Collecting Eggs from your own Coop
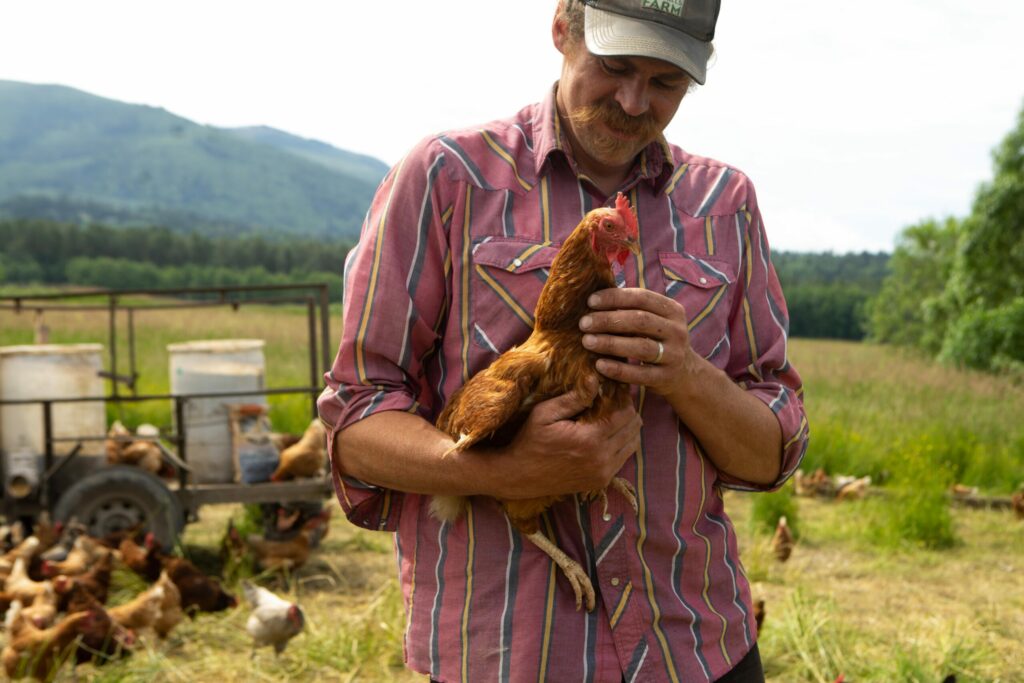
The easiest and most efficient method to obtain fertilized eggs is simply to gather them from your own coop that has a rooster living with the hens. If the rooster is at least 6 months old (give or take a couple months), they will be mature enough to mate with the hens and fertilize their eggs. A rooster that is capable of fertilization does not need long to begin creating fertilized eggs after introduction to the flock – hens may lay fertile eggs as soon as the next day after mating. However, it is safe to allot at least a couple weeks of time with the rooster in the coop to assure all the eggs you collect will be fit for incubation.
 Important: Only select eggs that are clean and free of feces. You won’t be able to wash the eggs because it will remove the protective bloom, and you don’t want to introduce bacteria from feces into the incubator where it will flourish under the warm and humid conditions.
Reach out to Chicken-Keeping Friend
You may have a flock of your own, but prefer not to keep a rooster. Roosters are great for protecting their hens, but there are several reasons many flock owners prefer to stick with hens only. Roosters consume feed year-round with no egg production, they are very protective of the hens which can lead to aggression towards their human keepers, and their crowing can be quite loud. If you have a flock with hens only, the next best option is to reach out to a friend in the chicken keeping community to see if they would be willing to give or sell you some of their fertilized eggs. Join chicken keeping groups on social media that are specific to your locality, and make a public post asking for fertilized eggs. You would be amazed at the outreach! This person could be anywhere on the scale of backyard chicken owner with only a handful in their flock, to local farmers that have hundreds or thousands of birds. As long as there is approximately 1 rooster for every 10 hens in the flock, fertility will be consistent and you can assume any egg laid by the flock will hatch a chick after incubation. Important: Just like collecting eggs from your own coop, only select eggs that are clean and free of feces. You won’t be able to wash the eggs because it will remove the protective bloom, and you don’t want to introduce bacteria from feces into the incubator where it will flourish under the warm and humid conditions.
Purchasing Eggs
For new chicken owners without an existing flock or unable to find anyone local with a fertile flock, purchasing eggs through a hatchery will be the only option. There are two options – 1) find a local farm or hatchery that you can physically visit to pick up the eggs, or 2) get the eggs delivered to you through the mail. Any larger reputable hatchery that is open for sale to the public has a well-refined mail order system in place for their eggs. It is best to go straight through a reputable hatchery’s website to order. There are options through larger ecommerce sites such as Etsy or Amazon, but there may be sellers on these sites that are not held to the same best practices or health regulations that actual hatcheries are held to.
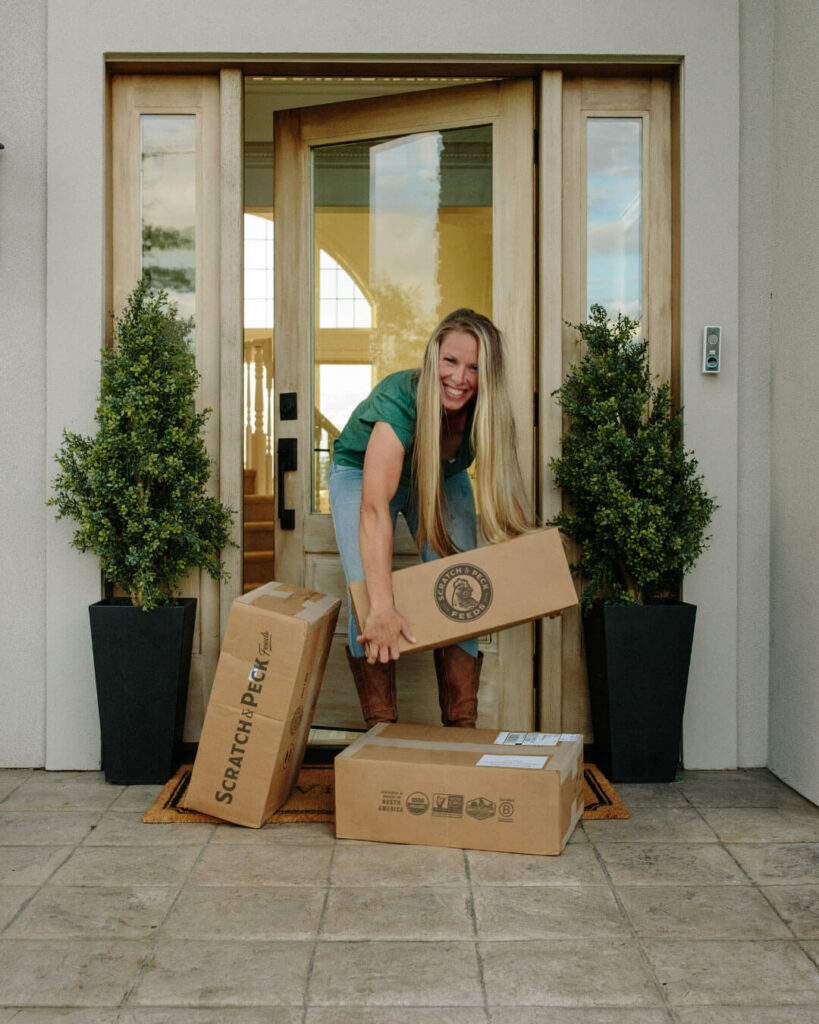
Unlike live chicks which are held at the post office for pickup, fertile eggs are usually shipped with Priority Mail directly to your address. It’s important to let the eggs sit still for at least 24 hours after they arrive to let them settle and equalize to room temperature before placing them into the incubator. Some hatcheries have guarantees that the eggs will arrive unbroken, which is easy to check for upon arrival. One step further is a guaranteed percentage of fertility, which you can only inspect by candling the eggs after about 7 days into incubation (more on this below).
Preparing the Incubator
Once you’ve gathered your fertilized eggs, it’s time to prepare the incubator and choose a suitable location.
Cleaning the Incubator
Thoroughly clean the incubator before getting started. This is especially important between hatchings and should be done before putting away the incubator for storage. Manufacturers may have cleaning instructions in their manual, but you can also use warm soap and water or a mild bleach solution (no stronger than 25% bleach, 75% water).
Choosing the Incubator Location
Place the incubator in a room with stable temperature and in a location that is free of drafts (i.e. away from any doors) and direct sunlight. This will help the incubator maintain a constant, stable temperature and humidity.
Adding Water
The proper humidity level is typically achieved by adding water to a basin within the incubator. Relative humidity should stay consistently at 50%, with only slight deviations of +/- 5% for the first 17 days and then will need to be increased to 65-70% on days 18-21.
 Test the Incubator Ahead of Time
Testing the incubator before starting is an important step that can prevent challenges during incubation. Ensure the incubator is holding proper temperature (99.5-100.5 deg F.) and humidity (~50%) for at least 24 hours before starting. The vent of the incubator should be partially open during this testing period and for the first 18 days. Follow the manufacturer’s instructions for temperature, humidity, and vent placement.
If the incubator has an automatic egg turner, test that the functionality is working properly and monitor how often the mechanism is working.
Marking the Eggs
Marking the eggs in advance will allow you to monitor the egg turning feature of the incubator. An easy method is to mark an “X” on one side and “O” on the other side. As the eggs rotate, the visible marking will change.
 If you’re interested in tracking additional data, another option is to add a letter or number to indicate the expected breed, day collected, or source of the fertilized egg. Add this marking to one side of the egg and then a neutral marking such as “X” or “O” to the other side so that you can still monitor the egg turning feature of the incubator.
Hatching Timeline
The total incubation period for chickens is 21 days long. Once the eggs are set in the incubator, there is little manual work required. The below timeline provides you with an overview of what to expect and required tasks over the 21 day period.
Setting Eggs – Day 1
Once the incubator has been sanitized, tested, and is at a constant temperature and humidity, it is time to add the fertilized eggs. Wash your hands before touching the fertilized eggs. Place the eggs so that the visible markings are consistent – either all “X”s or “O”s facing upwards.
Next, confirm the egg turning feature of the incubator is working properly by activating it and ensuring the eggs rotate properly.
When the lid is off while eggs are being added, the incubator will change in temperature and humidity. Allow the temperature and humidity to stabilize before making adjustments.
Monitoring Eggs – Day 1-18
Over the next 18 days, monitor temperature and humidity daily. Ensure that the water basin never runs out of water and that the humidity stays at a constant ~50%. When adding water to the incubator, add warm water to avoid a large dip in temperature.
Some incubators have low temperature alarms. If an alarm sounds, evaluate the surrounding environment to see if the location of the incubator is causing inconsistent temperature.
Egg turning is critical over the next 18 days and should be done at least 5 times every 24 hours to prevent embryo death. According to Texas A&M AgriLife Extension, “Turning more frequently is better and once per hour is best.” (Reference: https://alec.unl.edu/documents/cde/2017/livestock-management/incubating-and-hatching-eggs-2017.pdf) If the incubator you are using does not have an automatic egg turner, you will need to rotate the eggs manually.
Candling Eggs – Day 7-10
Candling eggs is simply holding the large end of an egg up against a bright light (such as a small LED flashlight) in a dark area to illuminate the inside of the egg. Many incubators have this light built in. Candling is not required, but is interesting to see the development and can determine if the egg is fertile or not. You can candle eggs any day during incubation you would like, except the last 3 days of hatching where temperature and humidity must stay high. Otherwise, be sure not to take the egg out of the incubator for more than 30 minutes. You may be able to see veins starting to develop as early as Day 3 – veins and blood vessels spreading in the first week is a good sign. By Day 8, you should see the beginning of a chick inside the egg. After about 10 days, if an egg is still clear, it is likely infertile. As the incubation progresses, the dark area in an egg will get larger as the bird begins to fill the entire egg.
Preparing for Hatching – Day 18-21
3 days before hatching, increase the humidity of the incubator to 65-70%. Turn off and remove the egg turning device to allow the eggs to roll freely while hatching. Avoid opening the incubator once the egg turning device has been removed.
Read through the incubator manufacturer instructions thoroughly because they may have additional instructions such as opening the vent fully.
Hatch Day 21
Hatching is a very laborious process for the chicks and can take up to 24 hours. The first indication that a chick has started hatching is a small crack in the egg, referred to as a ‘pip’.
 Once the chicks have hatched, leave them in the incubator until their feathers have fully dried. Wait until about 90% of the chicks have hatched and fully dried to remove any from the incubator. Place them in a warm brooder with food and water.
 If there are several eggs that are still unhatched after day 21, allow until day 23 for the remaining unhatched eggs. Delays in hatching can occur for multiple reasons.
Preparing the Brooder for Hatch Day
During the last few days of incubation, it is important to remember that live animals will soon be running around and in need of proper shelter. You should have your chick brooder set up and ready to go at least a day before hatch day. Setting up a chick brooder is a simple process overall, but there are a few key details to remember. Check out this article on chick brooder setup for all the information you need!
Conclusion
Incubating eggs at home comes with several benefits that make it worthwhile and rewarding for both seasoned chicken keepers and beginners. With the ease and accessibility of modern incubators, hatching your own eggs has become a straightforward and economical process that anyone can learn. The experience is both fun and educational, particularly for children who can witness the beauty of new life firsthand. Whether you’re drawn to the practicality, the excitement, or the educational opportunities, incubating chicken eggs at home is an experience that connects you more deeply to your flock and the natural world in general.